Regular backups are one of the most important parts of website management. They help reduce the risk of data loss caused by user error, failed updates, or unexpected system issues. Instead of manually creating backups every time, Plesk allows you to schedule backups automatically so your website data is protected on a daily, weekly, or custom basis.
In this guide, you will learn how to set up an automatic backup schedule for your website in Plesk, along with the main settings you should understand before saving the configuration.
Start by logging in to your Plesk control panel.
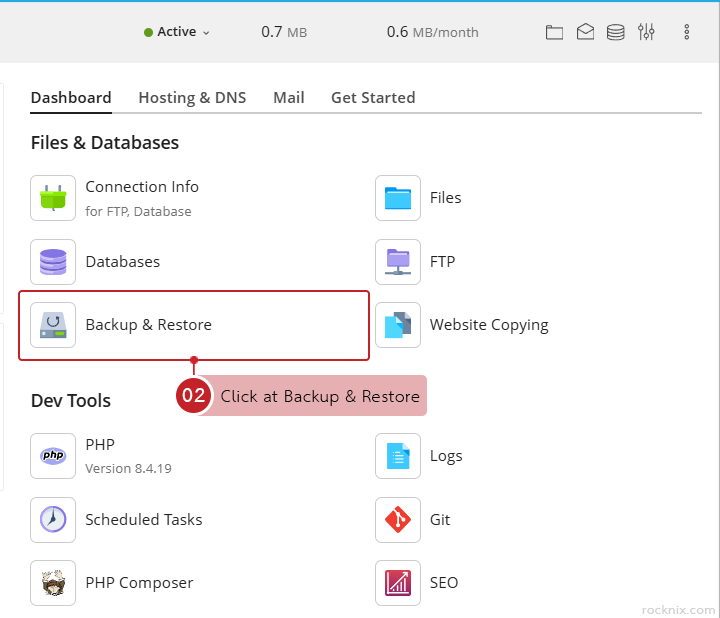
From the domain you want to configure, go to Files & Databases and click at Backup & Restore.
Inside the backup section, click at Schedule to open the automatic backup settings.

You can now define how and when Plesk should run backups automatically.
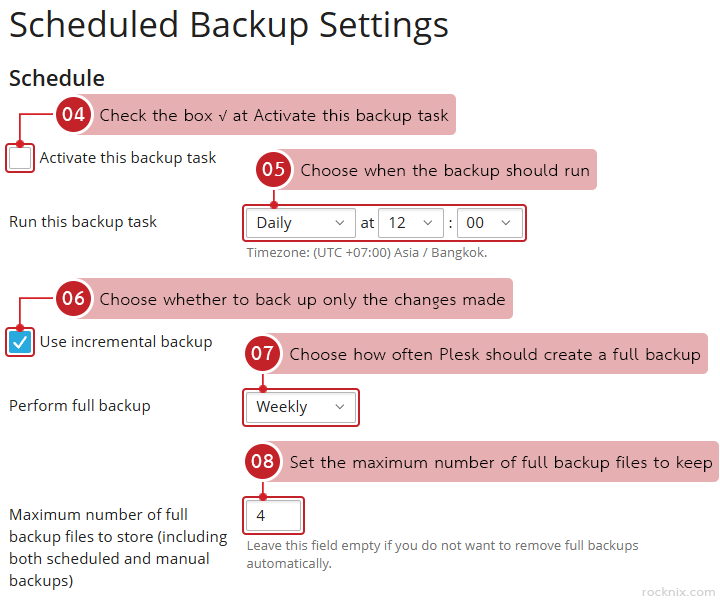
Schedule settings
- Activate this backup task: enable this option to turn on automatic backups.
- Run this backup task: choose when the backup should run. Plesk allows you to schedule backups daily, weekly, or monthly, and you can also specify the exact time, such as 12:00 AM or any other preferred hour.
- Use incremental backup: this option lets Plesk back up only the data that has changed since the previous backup. It is usually enabled by default and helps save storage space and reduce backup time.
- Perform full backup: if incremental backup is enabled, you can also choose how often Plesk should create a full backup. Available intervals include weekly, monthly, or yearly full backups.
- Maximum number of full backup files to store (including both scheduled and manual backups): set the maximum number of full backup files to keep. When the limit is reached, older backup files will be deleted automatically. If you leave this field blank, Plesk will not remove old backups, but storage usage will continue to grow.
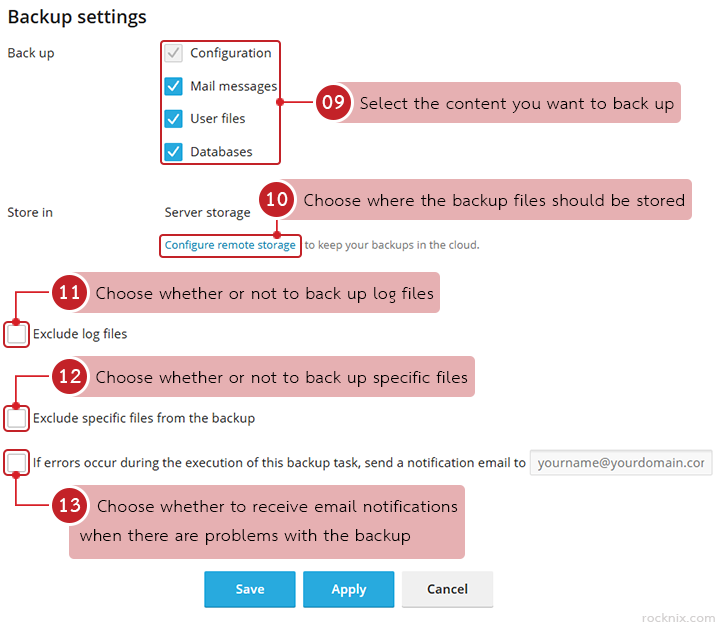
Backup Settings
- Backup: select the content you want to back up, such as:
- Configuration: for system settings
- Mail Messages: for email data
- User files: for website files
- Databases: for database content
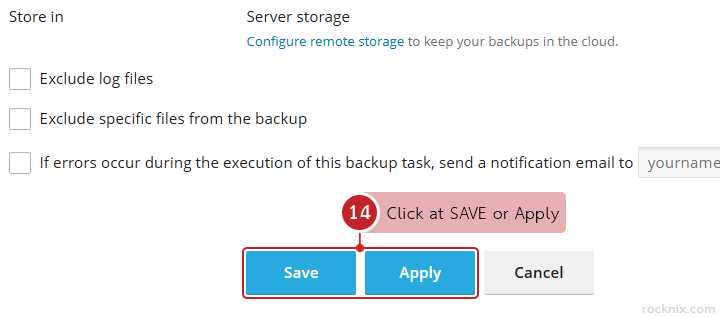
- Store in: choose where the backup files should be stored. By default, backups are saved on the server.
- Exclude log files: enable this option if you do not want log files to be included in the backup.
- Exclude specific files from the backup: use this option to skip selected files or folders. If enabled, enter the path to each file or directory. For multiple entries, separate them with commas.
- If errors occur during the execution of this backup task, send a notification email to: enable this option if you want Plesk to send an email notification whenever a backup fails or encounters an issue. Enter the destination email address that should receive the alert.
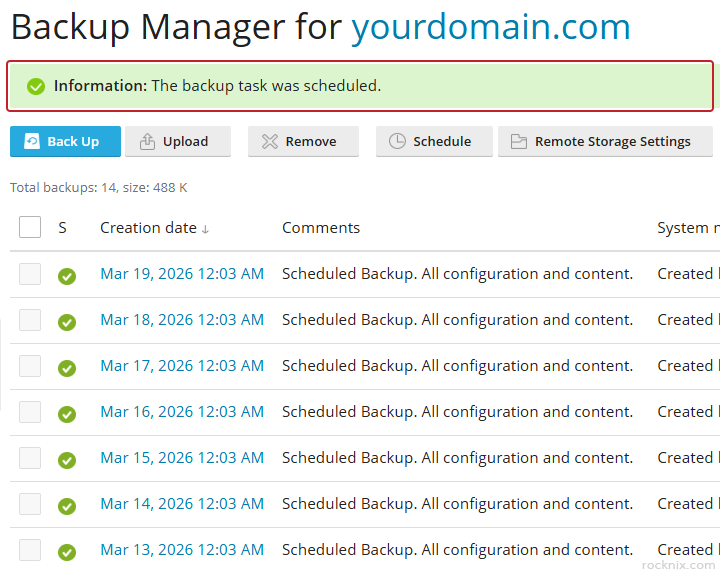
After completing the configuration, click at Save or Apply.
Plesk will confirm that the backup task has been schedule.
To make your backup plan more reliable, keep these recommendations in mind:
- Schedule backups at least once per day for websites that are updated frequently.
- For important websites, consider using remote storage such as Google Drive or FTP storage in addition to local server backups.
- Check your available disk space regularly to avoid backup failures caused by insufficient storage.
If you’re looking for secure and easy-to-manage hosting, you can explore available plans to find one that fits your website.