You can create email account in Plesk control panel by following this article.
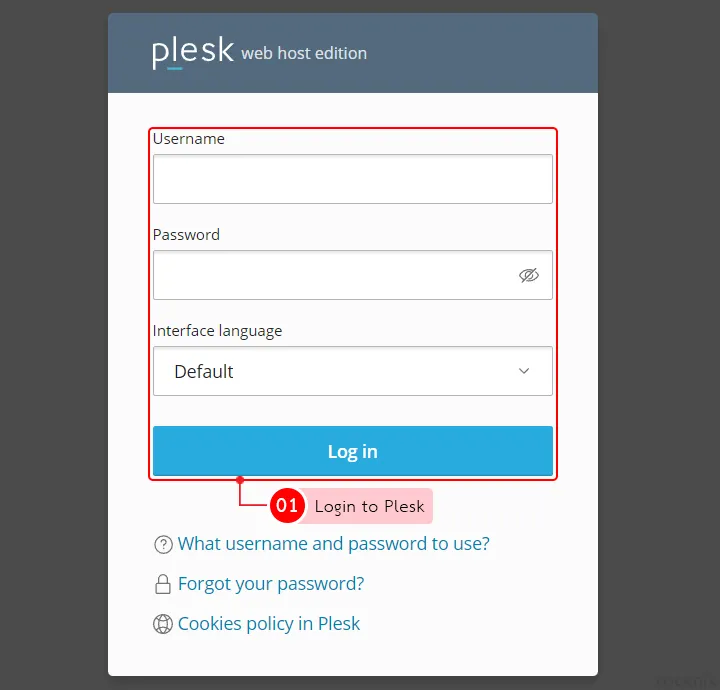
1. Login to Plesk by typing your website name followed by :8443 or :8440, for example yourdomain.com:8443, then specify username, password and click on Log In.
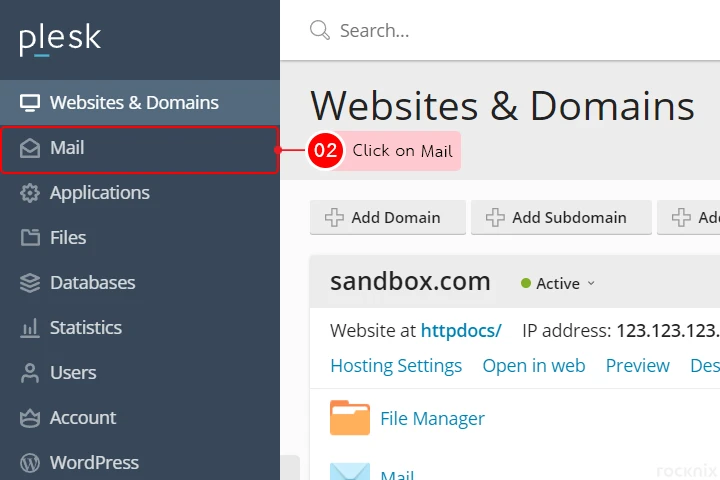
2. Click on Mail menu.
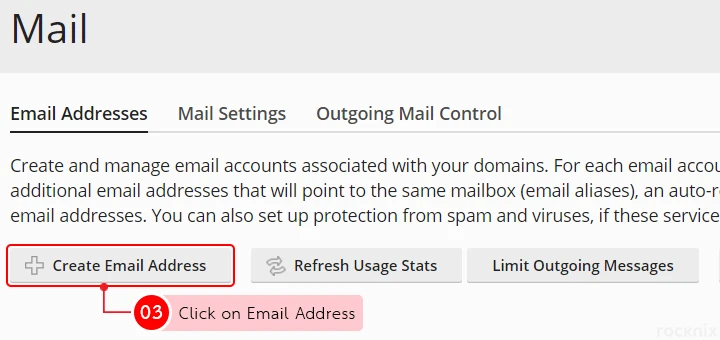
3. Click on Create Email Address
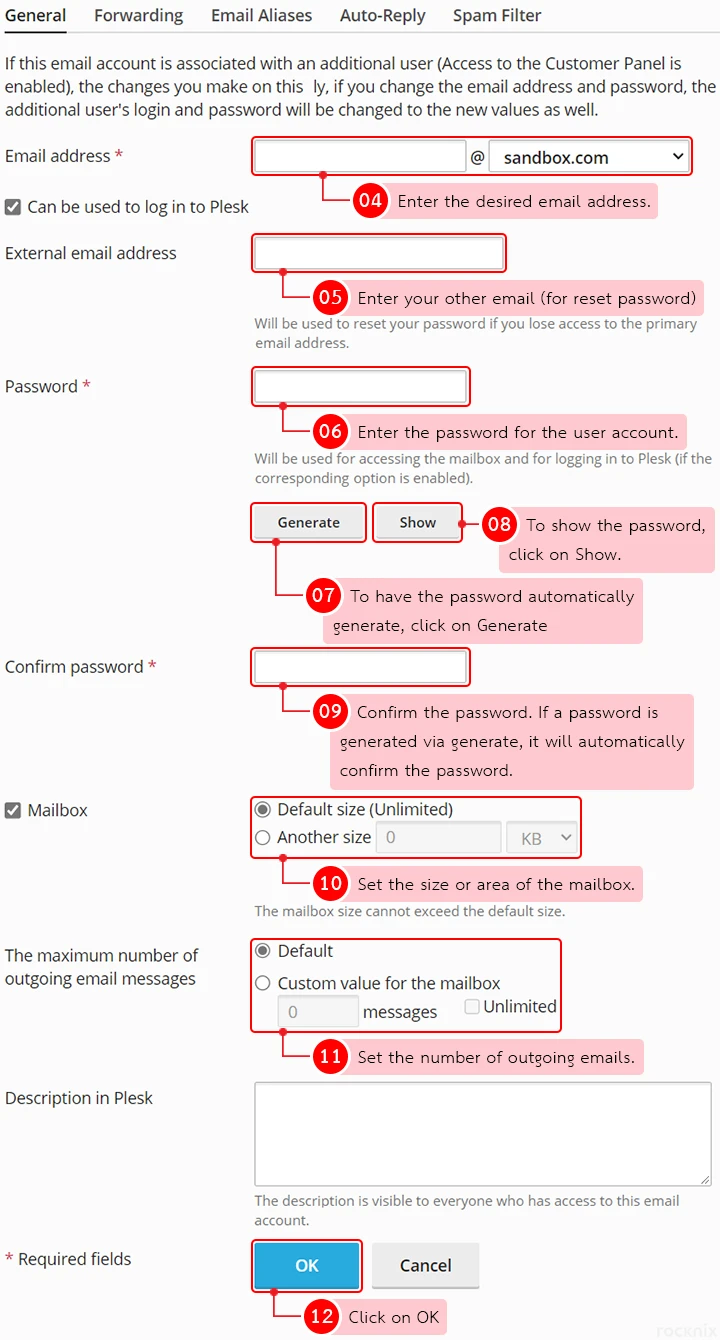
4. Enter the following details:
Email address : Enter the desired email address.
External email address : Enter your other email such as Gmail, Hotmail or any other email to reset your password.
Password : Enter the password for the user account. To have the password automatically generate, click on Generate, and to show the password, click on Show.
Confirm Password : Confirm the password. If a password is generated via generate, it will automatically confirm the password.
Mailbox : Set the size or area of the mailbox. To use the system default, choose Default size (Unlimited), which will be able to receive emails continuously. but does not exceed the area of the active service To customize, select Another size and enter the desired area size.
The maximum number of outgoing email messages : Set the number of outgoing emails. If you want to use the default value that is set by the system, choose Default (100 messages per hour), but if you want to customize it, select Custom value for mailbox and enter the number of emails you want. And if you don’t want to limit the number of emails sent, choose Unlimited.
Description in Plesk : Add an additional description (optional).
Once the settings are complete, click on OK to save the settings.
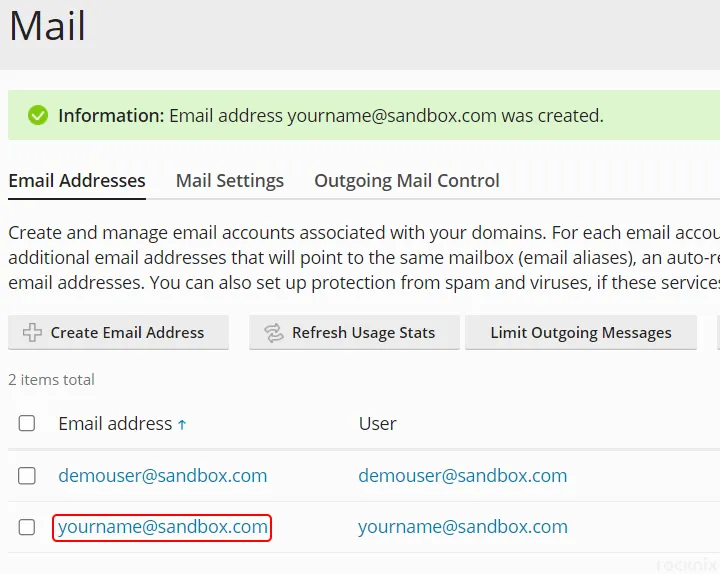
5. The system will display the email account created as shown in the picture.
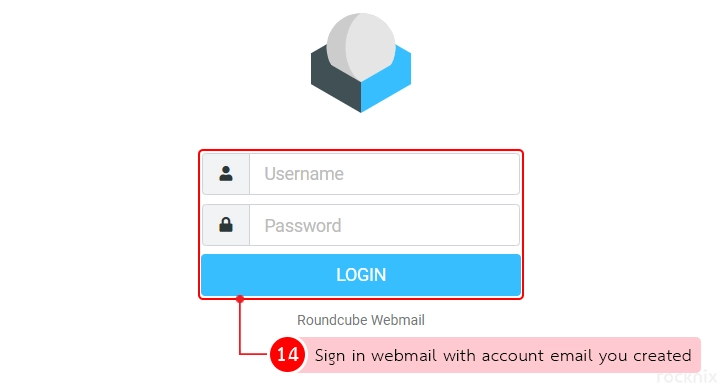
6. To access email, open a web browser and go to the URL http://webmail.yourdomain.com. (Don’t forget to change the yourdomain.com name to your website name too)
7. A login page will appear. You have to login with your username. By entering your user account, password and click on LOGIN to login.
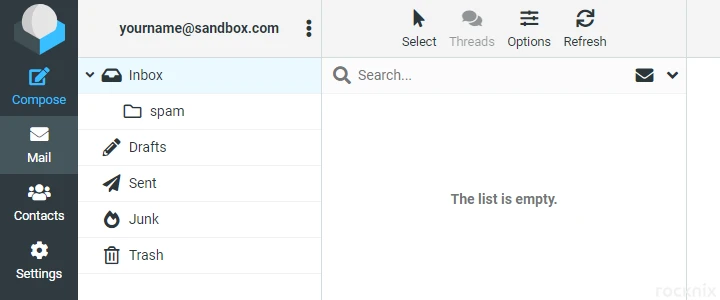
8. The system will enter the e-mail management page as in the picture.